

James Hardie Trim and Corner Details That Make or Break the Job
How James Hardie trim, corners, window casings and band boards are detailed in BC, and why these edges decide how a fibre cement wall looks and performs.
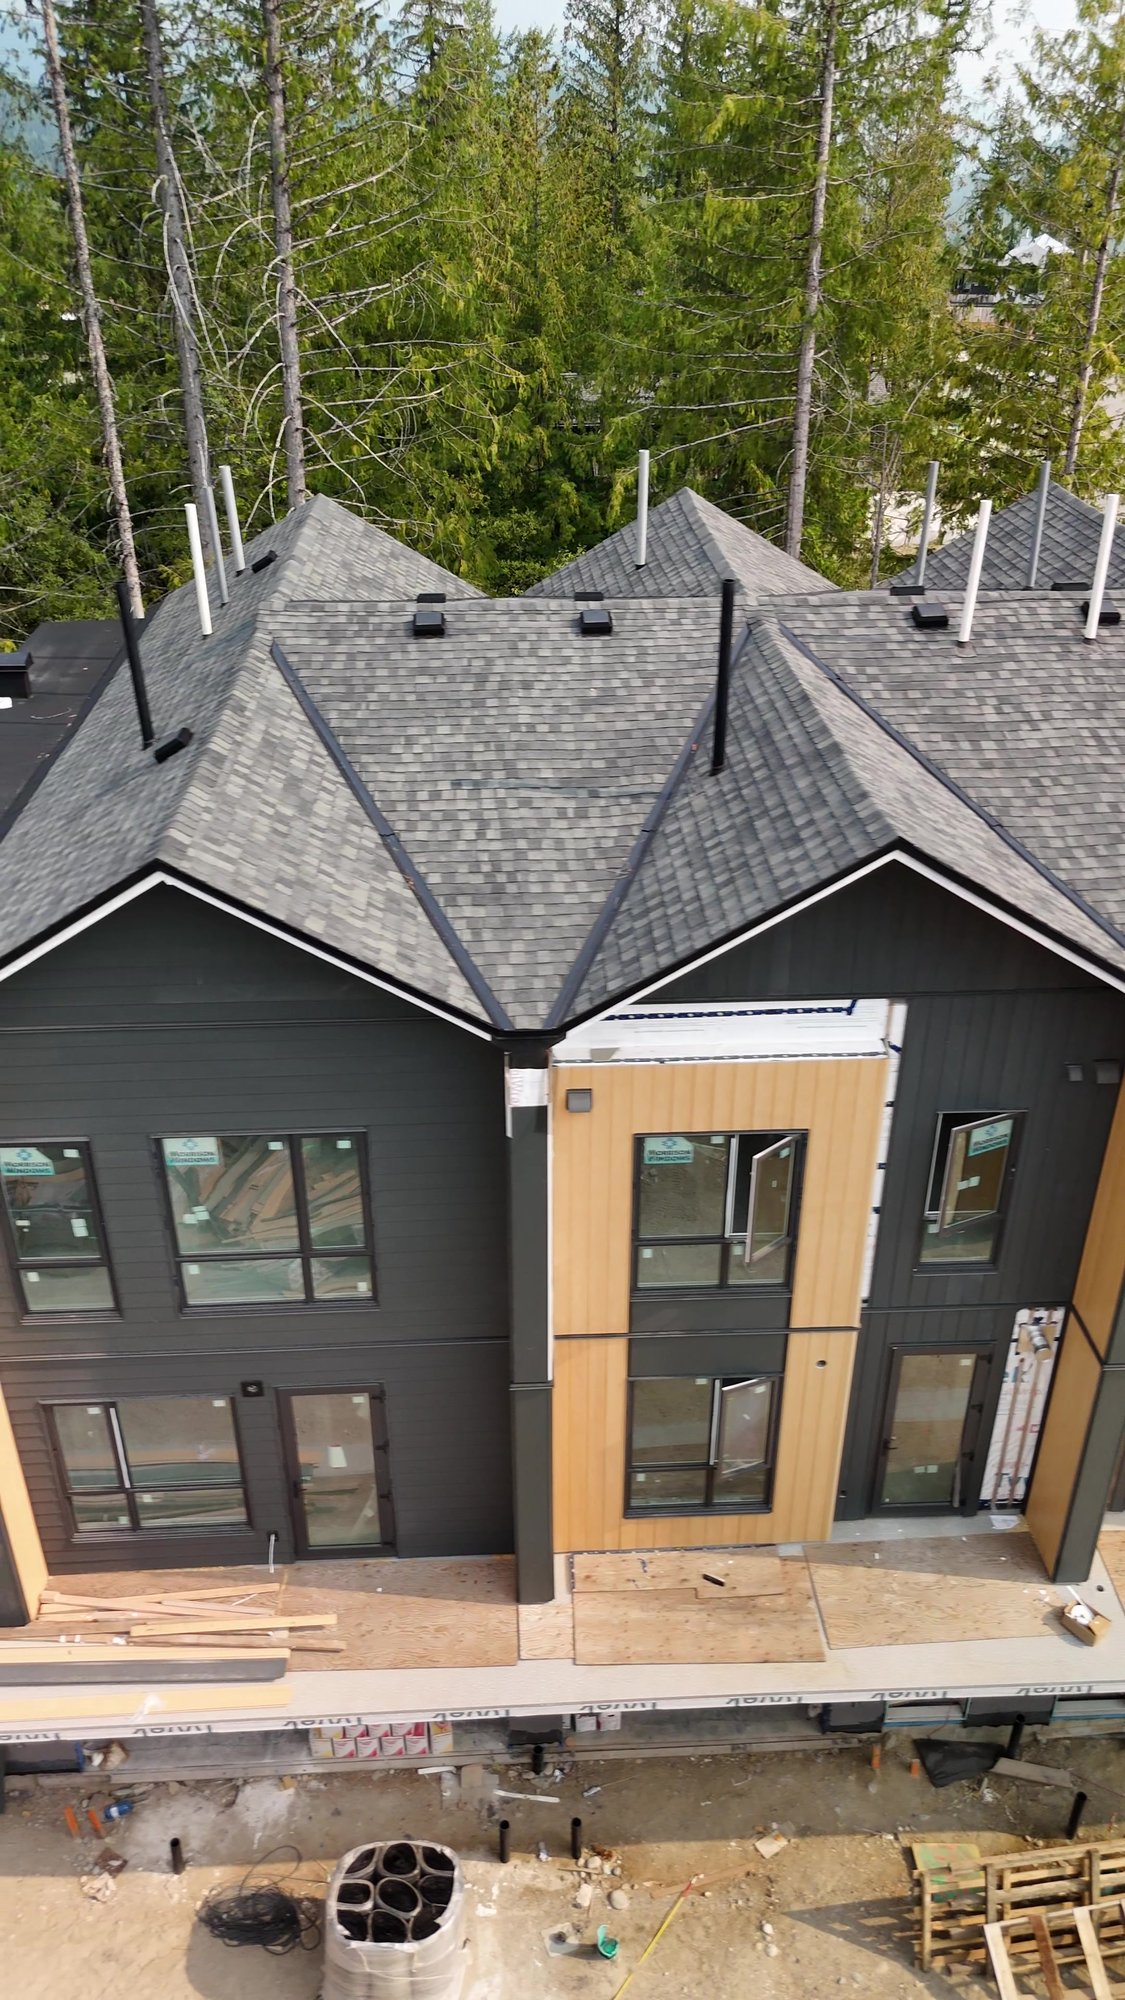
The trim and corner details on a James Hardie job decide whether the wall looks crisp and stays dry, or looks patched and leaks at the edges. Fibre cement boards are very durable on their own. What fails is almost always where the siding stops, at corners that hold water, window heads with no flashing, band boards that act like shelves, and joints that were caulked when they should drain or left open when they should be sealed.
Those edges are where we spend most of our time on James Hardie siding projects across Metro Vancouver and the Fraser Valley. This post goes through each trim detail, how we build it on a rainscreen wall, and what to look for when you compare contractors or check finished work.
If you are still choosing between lap and panel profiles, our Hardie Plank vs Hardie Panel guide covers that decision first.
Four rules behind every trim detail
Trim goes up first, siding butts to it. Corner boards, window casings and band boards are installed over the weather barrier and strapping before the siding, and each plank stops a small gap short of the trim.
Vertical joints are sealed, horizontal drainage joints are not. The gap where a plank meets a corner board or jamb casing gets sealant. The gap where siding sits above a head flashing or band board flashing stays open, because that is where water leaves the wall.
Clearances are kept at every hard surface. Siding and trim stop above grade, roofs, decks and paving by the distances in James Hardie's published instructions, so the bottom edges are never sitting in water.
Fasteners hold without crushing. Trim is fastened into solid backing with corrosion-resistant nails, set flush, and kept back from edges as the instructions require. An overdriven nail cracks the board and breaks the finish, and a nail too close to an end splits it.
Our post on James Hardie installation mistakes shows what happens on walls where these rules were skipped.
Plan the layout before the first board
Good trim work starts with a layout, not a saw. Before any siding goes up, we mark the course lines on the corner boards so the planks line up with window heads and sills where possible. Small adjustments to the reveal, within what the instructions allow, avoid a thin sliver of plank above a window or under a soffit, which looks wrong and is hard to fasten.
On a rainscreen wall, the strapping layout has to be planned at the same time. Every corner board, casing and band board needs solid strapping behind both edges, and the vertical strapping must not block the drainage path down to the base of the wall.
Outside corners
Trim board corners
Two trim boards meet to form the corner, and the siding butts into each one. This is the traditional look on lap siding and suits most houses in the Tri-Cities, Burnaby and the Fraser Valley. One board laps over the edge of the other, so we rip the covered board narrower by the thickness of the board that laps it, which makes both faces read the same width from the street.
Behind the corner, the weather barrier wraps around continuously, with a strip of membrane at the corner if the sheet laps there. The boards go up plumb and straight, since every course of siding reads off them. At the bottom, the corner board stops at the same clearance line as the siding, never buried in soil or bark mulch.
Formed metal corners
A formed aluminum or steel corner gives a sharp modern line with no visible frame. It is common with HardiePanel, board and batten, and darker ColorPlus colours. The detail behind it is the same, with continuous barrier at the corner and a profile that lets water run down and out at the base. Our board and batten guide shows how corners are handled on the vertical look.
Neither option is better everywhere. What matters is that one corner style is used consistently around the building, so the lines read as intentional.
Inside corners
Inside corners collect water from two walls at once. They are finished with a square inside corner trim board or a formed metal inside corner. Behind it, the weather barrier must run continuously into the corner, and the strapping on each wall is set so water running down the corner has an open path to the bottom.
The common mistake is a bead of caulk in the corner and nothing else. Sealant is a second line of defence. The membrane behind has to be right first.
Window and door trim
Head flashing
Every window and door head needs a metal flashing that sits on top of the head casing, spans the rainscreen gap, and has its back leg tucked up behind the weather barrier above. It extends past both sides of the casing, ideally with turned-up ends, and finishes in a drip past the trim face. The siding above stops short of the flashing so water can run out. On the leaky walls we open, the head flashing is most often missing, cut flush with the casing, or lapped in front of the barrier instead of behind it.
Jamb and sill trim
The side casings take a consistent sealed joint where the siding meets them. The sill area needs more thought. Water that gets past the window itself drains onto the sill pan under the window, so the joint between the window frame and the trim below is not caulked solid along its full length. Leaving it open in places lets the pan drain to the outside.
Casing style
Wide casings with a head trim give a traditional framed look. Narrow casings or a metal picture frame read more modern. On a re-side, matching the casing style to the house matters more than most homeowners expect, and it should be settled before the trim is ordered.
Band boards and material transitions
Band boards run across a wall at floor lines, at a change from lap to shingle or panel, or as a break on a tall wall. Any horizontal trim is a ledge, and the detail that stops it becoming a leak is a Z flashing on top.
- The back leg of the flashing laps up behind the weather barrier above
- The flashing slopes outward over the top of the board
- It ends in a drip past the board face
- The siding above sits slightly above the flashing, with the gap left open
The same detail applies wherever two cladding types meet horizontally. Our HardieShingle and Artisan guide shows where those mixed-profile transitions usually land on a house.
Frieze boards and the roofline
A frieze board often runs along the top of the wall under the soffit. The top course of siding below it may need to be face-nailed where blind nailing is not possible, following the instructions for that location. The frieze must not block soffit vents, and its joint with the fascia above is part of the roof edge. Our fascia replacement guide covers that edge.
Roof-to-wall intersections
Where a lower roof meets a Hardie wall, the siding and trim stop above the roof surface by the clearance in the instructions, so the bottom edges stay dry. Step flashing runs up the roof-wall joint behind the siding, and at the bottom end a kick-out flashing turns the water into the gutter. Siding run tight to the shingles, with no kick-out at the bottom, is one of the most common causes of hidden rot we find below roof lines.
Butt joints and cut edges
Where two planks meet end to end, a joint flashing goes behind the joint, or another method the instructions allow. Factory ends meet at butt joints wherever possible, joints are staggered so they do not line up course over course, and each joint lands on solid backing.
Field cut edges are handled as the instructions describe. On ColorPlus boards, cut edges at trim are touched up with the matching touch-up product, applied sparingly. Our post on James Hardie colours and ColorPlus covers how trim and siding colours are matched, including sealant colour at the joints.
Lights, hose bibs and other mounting blocks
Every light, hose bib, outlet and vent on a Hardie wall should sit on a mounting block that the siding butts to, with a small flashing over the top of the block lapped into the barrier above. Cutting the siding around a fixture and caulking the hole is quicker, and it leaks within a few seasons.
What to check on a finished job
- Corners are straight and plumb, with matching joint widths top to bottom
- Every window and door has a visible head flashing with a drip past the casing
- Band boards have a flashing and an open gap above it
- Siding and trim stop above roofs, decks and grade, not tight to them
- Kick-out flashings sit at the bottom of every roof-wall joint
- Fixtures sit on mounting blocks, not in caulked holes
- Sealant joints are neat, consistent and colour-matched
Ask your contractor for photos of the barrier and flashings before the trim covers them. A crew that details trim properly is usually happy to show you.
If you are planning a Hardie project and want the trim done properly, reach out through our contact page for a free quote.