

Fascia Board Replacement in BC, What Fails and How It Is Fixed
Why fascia boards rot and pull away on BC homes, how fascia board replacement is done properly, what happens at the gutters and drip edge, and what lasts.
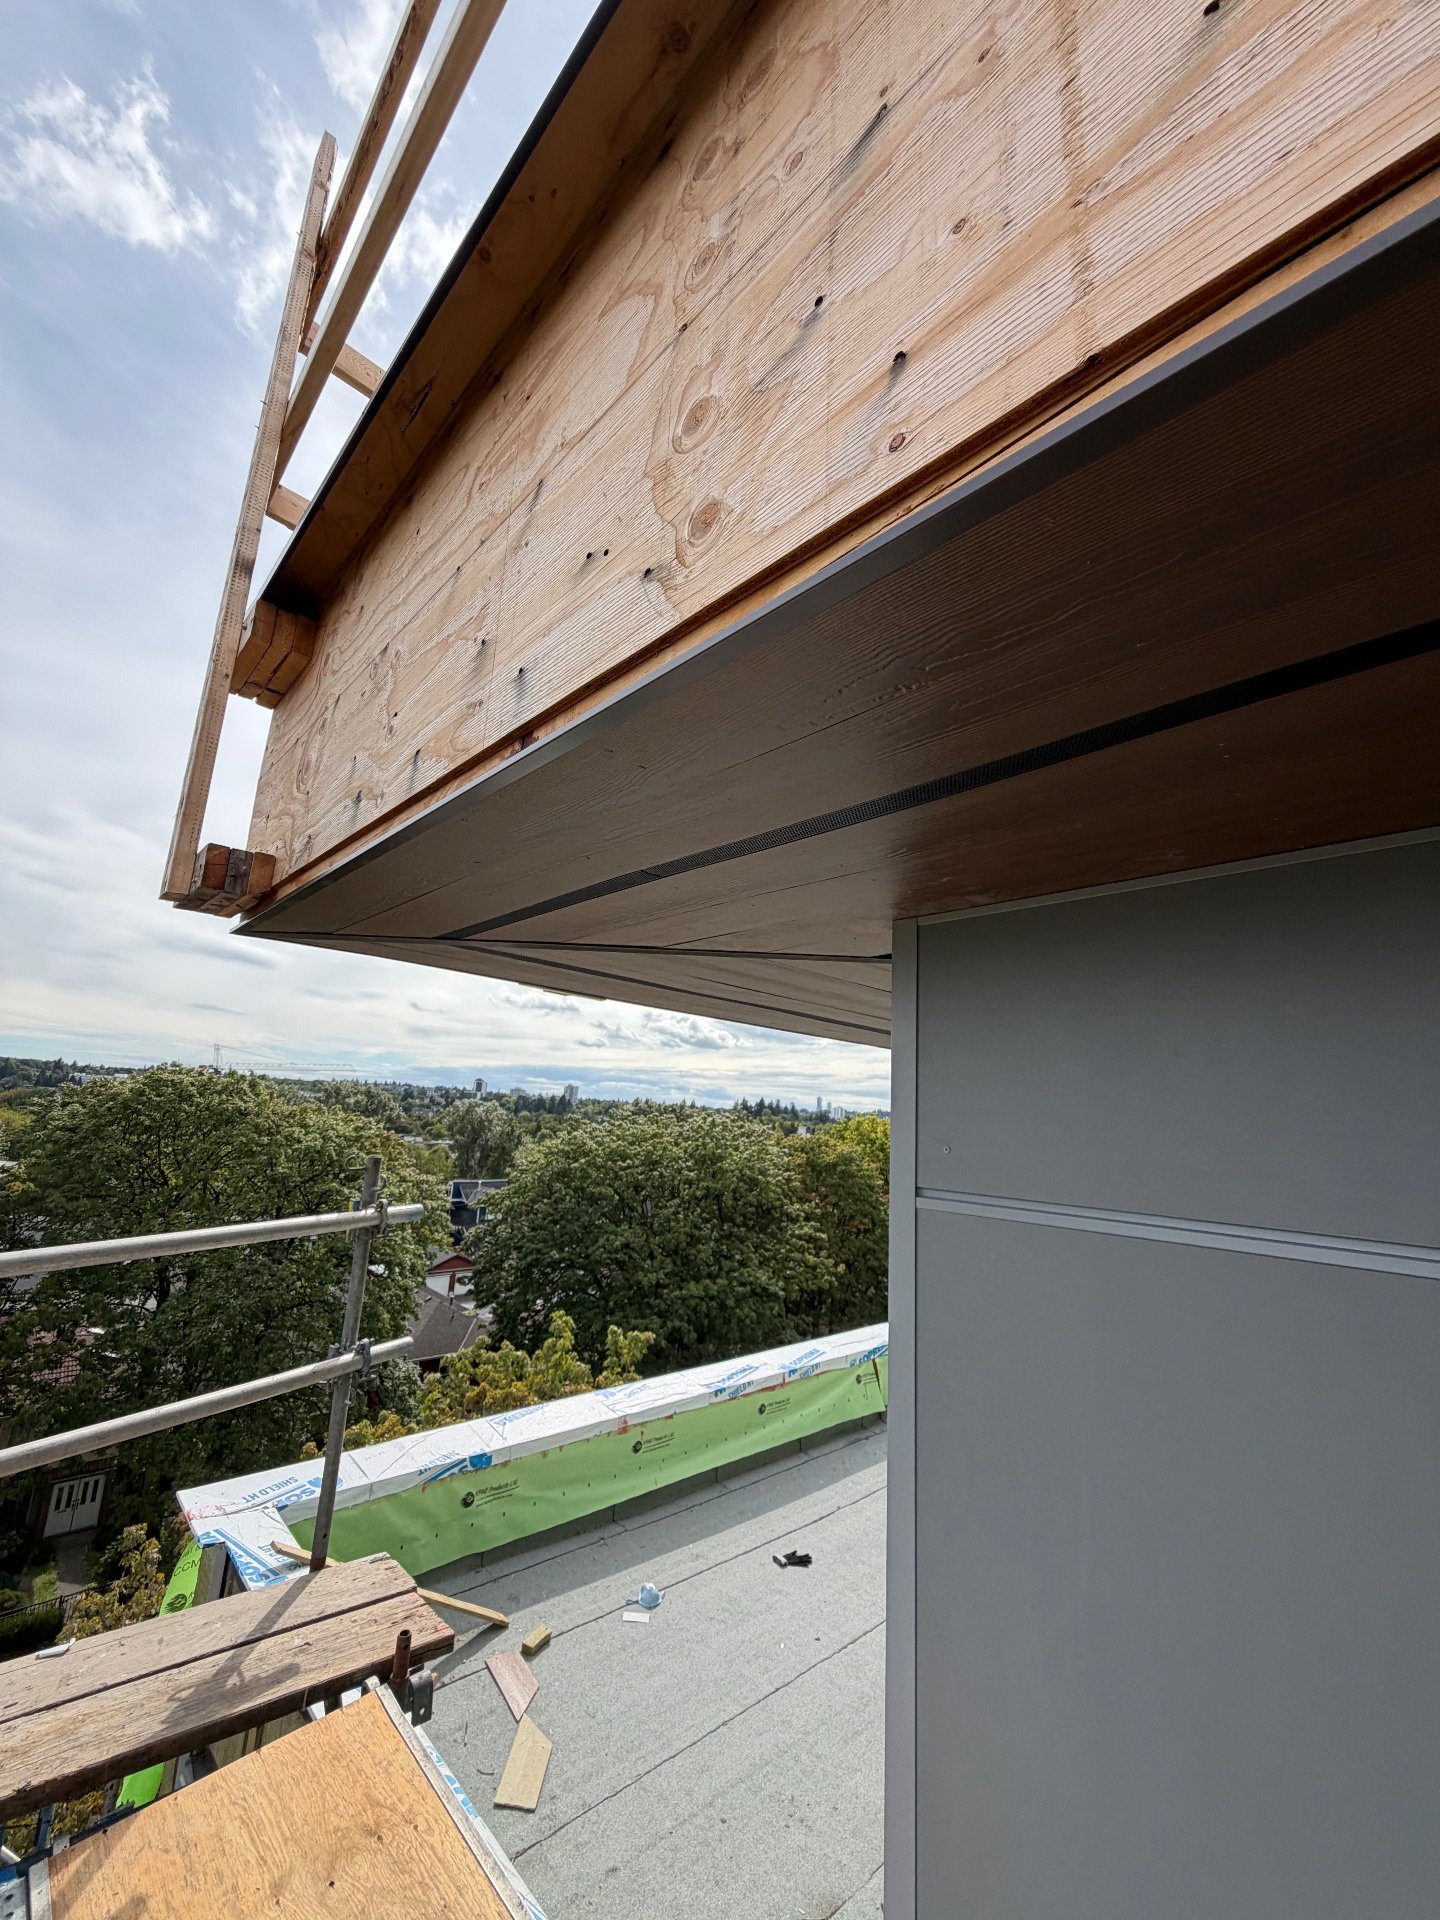
Fascia boards in BC fail for one main reason, water reaching wood that cannot dry. The fascia is the board along the roof edge that carries the gutters, and when water gets behind the gutter, over the top of the board or into open end grain, wood fascia rots and the gutters start to sag or pull away. A proper replacement takes the gutters down, removes the damaged boards, repairs the rafter tails behind them, installs new fascia with a drip edge lapped over its top, and rehangs the gutters with the right slope.
Mega Siding replaces fascia as part of our soffit and fascia service on houses, townhomes and strata buildings across Metro Vancouver and the Fraser Valley. This guide covers what we find when we open a roofline and how the job should be done so it does not need doing again. For the early warning signs, start with our post on soffit and fascia problems.
Where the fascia sits in the roof edge
The fascia is fastened to the cut ends of the rafters or trusses. On many houses it is two layers, a rough framing board called a sub-fascia behind a finished board you can see. It closes off the roof framing, gives the gutters something to hang from and supports the edge of the roofing.
Two other parts meet it. The soffit closes the underside of the overhang and is often tucked into a groove or onto a nailer at the back of the fascia. Above, a bent metal drip edge at the roof edge should lap down over the top of the fascia and drop water into the gutter. When either of those meeting points is wrong, the fascia takes the water.
Why fascia rots, in the order we find it
Water running behind the gutter
This is the most common failure on Lower Mainland homes. A gutter that is clogged, sloped away from its downspout or hung with its back edge outside the drip edge lets water run down the back of the gutter and soak the fascia face. The gutter hides that area, so the rot can travel along the whole run before anyone sees it. The first visible sign is usually a gutter leaning outward or a hanger pulling loose.
No drip edge, or one that stops short
Many older roofs here were built without a drip edge, or with one too narrow to cover the top of the fascia. Water clings to the underside of the roofing, creeps back to the top edge of the board and soaks into it and into the rafter ends behind. When we pull these boards, the top edge is often soft while the face still looks fine.
Gutter spikes and old fastener holes
Older gutters were hung with long spikes driven through the gutter and into the fascia. Every spike hole is a path for water into the wood, and as the wood softens the spikes back out and the gutter drops. On many jobs the rot pattern lines up exactly with the old spike spacing.
Open joints, corners and end grain
Cut ends of wood soak up water far faster than the face. Mitred corners open as the boards shrink and swell, butt joints separate, and the paint film cracks at those points first. Once the paint breaks, every rain gets into the end grain and the board stays damp through the wet season.
Ice and overflow inland
In Abbotsford, Chilliwack and Mission, freeze and thaw cycles are more frequent. Overflowing gutters freeze solid, ice builds along the roof edge and meltwater is pushed back under the roofing and behind the fascia.
Birds and rodents
Soft fascia and gaps between the fascia and the roof deck give birds, squirrels and rats an easy way into the attic. Chewed edges and nesting material at a corner usually mean the wood behind is already soft.
How far the rot goes
Before pricing a fascia job, we probe with an awl at every corner, every joint and every hanger location, and along the top edge where the drip edge should be. Sound wood stops the tip. Rotted wood lets it sink with light pressure.
From inside the attic, dark staining on the roof sheathing and rafter ends just above the wall line tells us water has been getting past the roof edge for a while. A soft spot at a single corner is a splice repair. Soft wood at several corners, or along most of one side, means replacing that full run, and it usually means some rafter tail repair as well.
How a proper fascia replacement is done
1. Gutters down
Gutters and downspouts come off first. Sound gutters are set aside for reinstallation. Gutters that leak at the seams, are badly dented or have never drained properly are better replaced while everything is apart.
2. Old fascia and drip edge off
The old boards come off, and any soffit tucked into them is loosened. To remove or install a drip edge, the first course of roofing has to be lifted. Asphalt shingles are brittle in cold weather, so on winter jobs we lift them carefully and replace any that crack.
3. Rafter tails and roof sheathing repaired
This is the step that separates a lasting repair from a cosmetic one. With the fascia off, the rafter tails and the edge of the roof sheathing are exposed. Soft rafter ends are cut back and sistered with new lumber, and rotted sheathing at the eave is replaced. New fascia nailed onto soft framing pulls loose within a few seasons, and the gutters go with it.
4. New fascia installed
Wood boards are primed on all sides, including the back and every cut end, before they go up. Joints land over solid framing, and splices are cut on an angle so the joint sheds water rather than holding it. Fasteners are corrosion resistant and set flush, not driven so deep that they break the paint and leave a cup for water.
5. Drip edge installed
At the eaves, the drip edge goes onto the roof deck under the roofing underlayment, with its lower leg lapped down over the top of the fascia and clear of the face. On many repair jobs this is the single most important improvement, because it stops the water that caused the rot in the first place.
6. Gutters rehung
Gutters go back up with a continuous slope toward each downspout, the back edge tucked under the drip edge, and hidden hangers screwed through the fascia into the rafter tails rather than spikes. Downspouts discharge to a drain or splash pad, away from the foundation and siding.
7. Soffit closed and vented
Loosened soffit panels are reinstalled or replaced, and the vent openings are kept clear so the attic still breathes. If the soffit is due as well, our post on Longboard soffit design covers the woodgrain aluminum option that many BC homeowners now choose.
Choosing a fascia material
Painted wood suits heritage and character homes and is the easiest to repair in sections. It needs repainting on a regular cycle, with the top edge and joints watched closely.
Aluminum-wrapped wood is the most common choice on homes with vinyl or aluminum siding. Formed aluminum coil is bent to cover the board and fastened with colour-matched trim nails. It sheds water and never needs paint, but it hides the wood, so it should only go over new or sound, dry boards.
Fibre cement trim suits homes with fibre cement siding and holds paint well in rain. It does not rot, but it is heavy, needs the manufacturer's fasteners and spacing, and the gutter hangers still have to reach solid framing behind it.
PVC and composite boards resist moisture but expand and contract with temperature, so joints and fastening have to follow the manufacturer's instructions or the boards buckle on a hot south wall.
On a home being re-sided, fascia and soffit are usually done in the same project so colours, materials and flashings tie together. Our James Hardie siding work often includes matching trim at the roofline.
Questions to ask before you sign
- Will the gutters come down, and are rafter tail repairs priced or listed as an extra if found?
- Is a new drip edge included, and how will it be tucked under the existing roofing?
- What hangers will be used, and will they be screwed into the rafter tails?
- How will joints and corners be made, and will wood boards be primed on all sides?
- Who removes and reinstalls the soffit, and will the attic vents stay clear?
Clear answers to these tell you more about a fascia quote than the price per foot. A soft fascia is also worth adding to your seasonal checks, and our winter siding checklist covers what to look for along the roof edge.
If your gutters are leaning or your fascia is soft, reach out through our contact page for a free assessment and quote.