

A Winter Siding Checklist for Lower Mainland Homes
A practical winter siding checklist for Lower Mainland homes, covering what to inspect after storms, cold snaps and long rain, and which problems cannot wait.
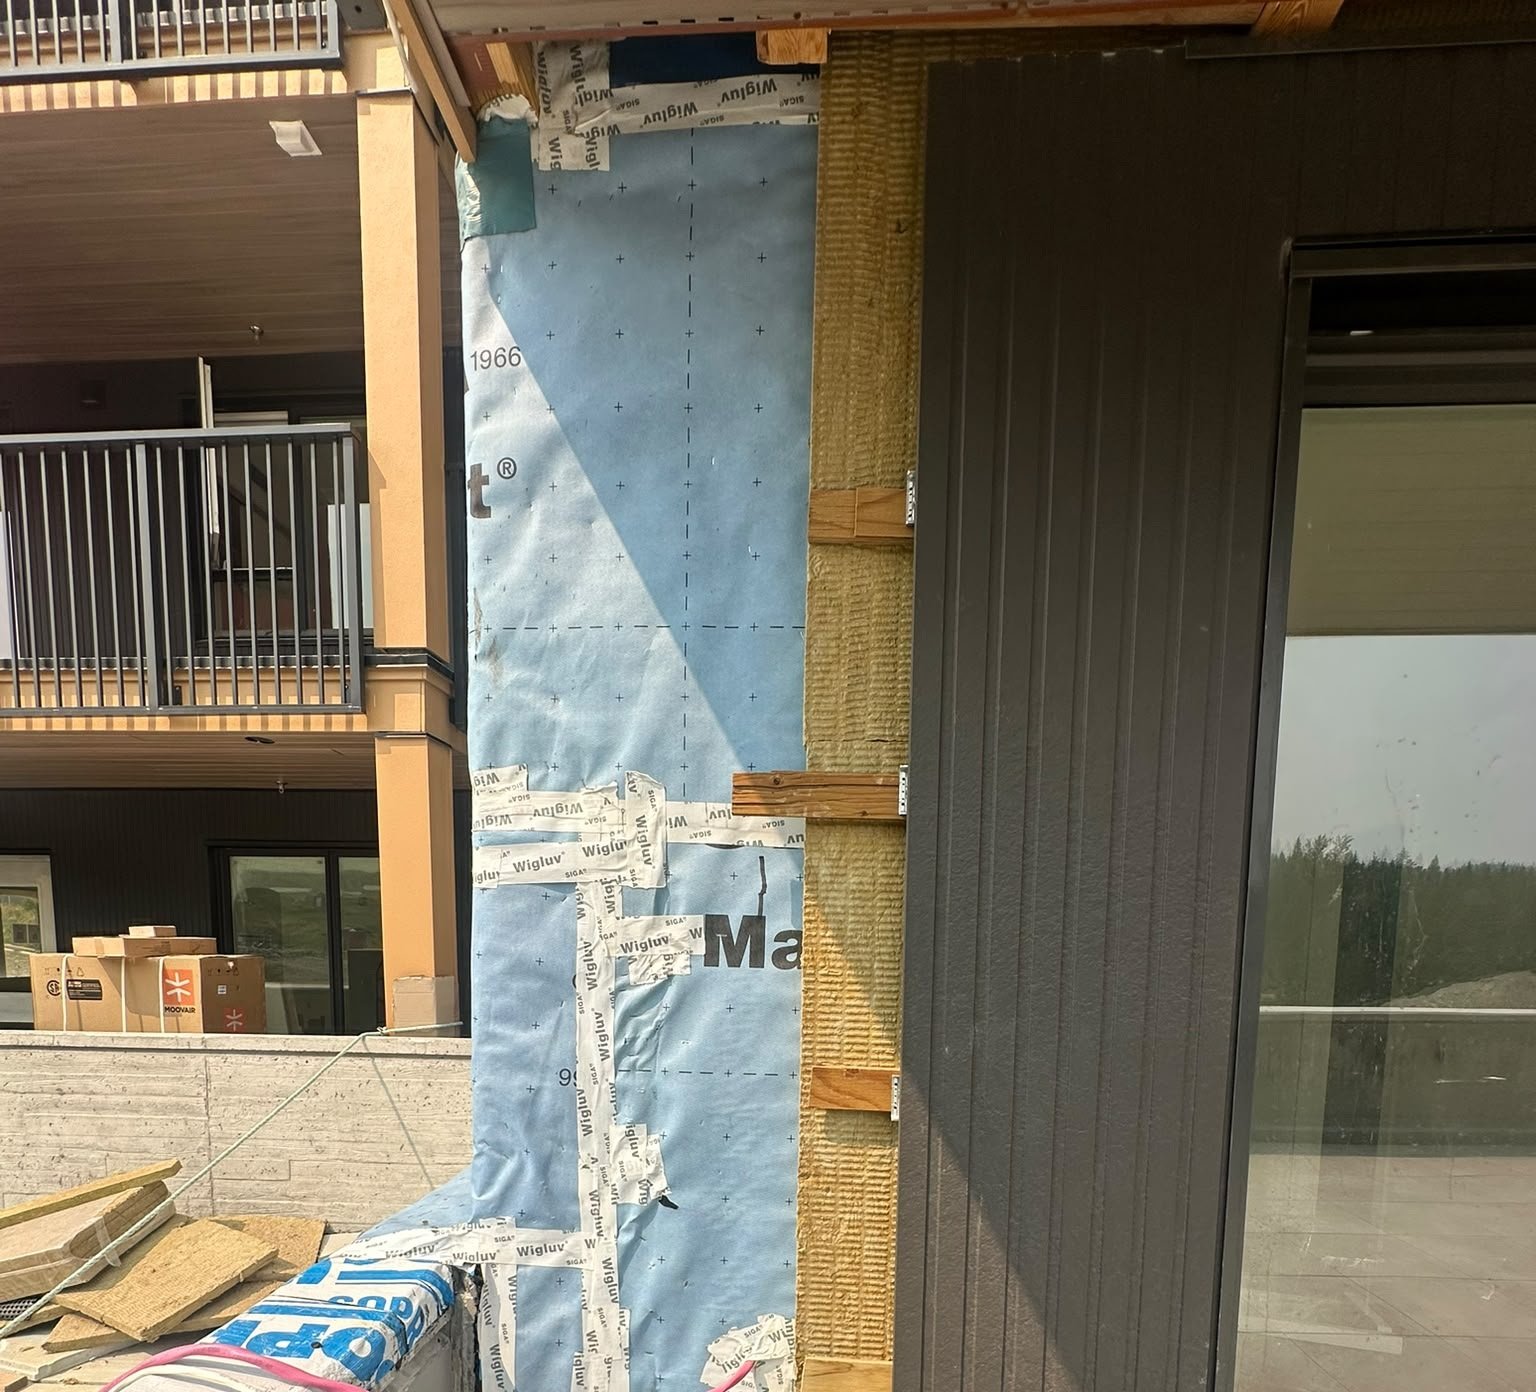
A winter siding check in the Lower Mainland comes down to four questions. Is anything loose or missing after the wind, is there an open edge where rain can get behind the cladding, is roof and ground water being carried away from the walls, and is there any sign that moisture is already inside the wall. Most of it can be done from the ground in fifteen minutes with a phone and a flat screwdriver, and a problem caught in November is a much smaller repair than the same problem found as a stained ceiling in March.
This checklist comes from what our crews find on winter service calls across Metro Vancouver and the Fraser Valley, and it is part of our complete siding repair guide. When something needs more than a homeowner fix, our siding repair team works through the wet months, with any opened wall covered before we leave.
What a Lower Mainland winter does to a wall
Our winters are rarely about deep cold. They are about weeks of rain with no drying days, southeast storms that drive rain sideways into the walls, and short outflow snaps that freeze whatever water is sitting in a joint or gutter. The Fraser Valley adds more freeze and thaw cycles, and waterfront homes add salt.
The practical result is that a wall gets almost no chance to dry between November and March. A small opening that would dry within a day in August stays wet for weeks, which is why winter is when slow leaks turn into soft sheathing.
Before you start
Pick a dry afternoon, ideally the day after a rain so wet spots are still visible. Take your phone, a flashlight and a flat screwdriver for testing wood trim. Start with the wall that faces the weather, usually south or west, because it shows problems first. Stay on the ground, and leave anything you cannot see from there for a crew with proper access.
The walk-around
1. Loose, missing or shifted cladding
- Vinyl panels that have unlocked at the bottom edge and bulge or flap in the wind, or panels with fresh cracks, since vinyl turns brittle in the cold
- Fibre cement planks with a cracked end at a nail, a popped nail head, or a plank that has dropped out of line with its neighbours
- Wood boards that have cupped, split at the ends or lifted at the bottom courses
- Metal panels with loose fasteners, trim pulled away at a corner, or a soffit panel hanging down
Wind damage concentrates at corners, gable ends and the top of walls. If a piece is gone, the membrane behind it is taking direct rain. A torn sheet of building paper exposed to a week of storms is the point where a cosmetic repair becomes a sheathing repair, so cover it the same day with a tarp held flat by wood battens rather than tape on a wet surface.
2. Joints and edges
Water rarely gets in through the face of siding. It gets in at the edges.
- The top of every window and door. Look for a thin metal flashing sticking out past the top of the trim. If all you see is a bead of caulk where the trim meets the siding above, make a note.
- The bottom corners of window trim, where staining from a leak usually shows first
- Butt joints in lap siding, where two planks meet end to end
- The vertical joint between siding and corner boards
- Anywhere siding meets a lower roof, a deck surface or a chimney
Shrunken or cracked caulking is common after a dry summer, and renewing it at the sides of trim is reasonable maintenance. Do not run a bead along the bottom edge of siding courses, along the bottom of window trim that sits on a flashing, or across the gap at the base of the wall. Those gaps exist to let water out. Our post on James Hardie installation mistakes explains why joints done by caulk instead of by detail fail.
3. The bottom of the walls
The lowest courses take splash-back from soil, patios and decks. Press the bottom edge of any wood trim or boards with the screwdriver. Sound wood resists. Rotted wood lets the tip sink in with little pressure, and it often feels spongy under paint that still looks fine.
Check the clearance between the siding and whatever is below it. Every siding manufacturer publishes a minimum gap above soil, paving and deck surfaces, and siding run tight to the ground wicks water upward all winter. Bark mulch piled against the wall in fall is one of the most common reasons we replace soft bottom courses.
On a newer home with a rainscreen, look at the underside of the bottom course. You should see a perforated metal strip or screen closing the bottom of the drainage gap, not soil, caulk or a solid board. Our rainscreen explainer covers why that gap has to stay open.
4. Gutters, downspouts and fascia
A clogged gutter overflows straight down the siding, and a downspout that dumps at the foundation keeps the lowest boards soaked.
- Watch a gutter during heavy rain for water spilling over the front or running behind the back edge
- Check that every downspout joint is connected and lands on a splash pad or drain, not against the wall
- Look for vertical streaks just below the gutter line, which mean water is getting behind the gutter
- Press the fascia at the corners for soft spots, and look for gutters leaning outward
Leaning gutters and soft fascia usually go together. Our post on soffit and fascia problems covers the warning signs at the roofline.
5. Roof-wall joints and penetrations
Look up wherever a lower roof meets a wall, such as a garage, porch or bay window roof. At the bottom end of that roof edge there should be a small angled flashing, called a kick-out, that turns water into the gutter. Without it, all the water from the roof-wall joint runs down the face of the wall, and the siding directly below is often the first place rot appears on a house.
Then check every hole through the wall. Dryer vents, bathroom fan hoods, hose bibs, light fixtures, cable lines and gas lines all need a flashing or mounting block that sheds water around them. A vent hood pulled away from the wall, a missing damper flap, or a caulk ring that has split all the way around a pipe are common winter leak points. A dryer duct that has come apart inside the wall also pumps warm, wet air into the framing every time the dryer runs.
6. Signs that water is already inside
- Dark streaks running down from a joint or from the bottom corners of a window
- Paint blistering or peeling in one patch only
- Boards that bow or cup outward
- Moss or green growth concentrated in one spot rather than spread across a shaded wall
Inside, check under weather-side windows and in closets on outside walls for musty smells, swollen baseboards or stains. If you find soft wood, our guide to wood siding rot repair explains how far rot usually runs past what you can see.
After a windstorm or a cold snap
A big storm deserves its own walk-around within a day or two, focused on gable ends, second-storey walls and debris strikes on the windward side. If the damage may be an insurance matter, photograph everything before anything is moved or repaired. Our storm damage and insurance guide covers what insurers usually want to see.
After a hard freeze, look for impact cracks in vinyl, split wood at the bottom courses, ice built up in gutters, and icicles hanging off the face of the wall instead of the gutter edge. Icicles on the wall mean water is running behind the gutter or out of a joint.
Sorting what you found
Fix now
- Missing or loose panels on any wall that takes rain
- Torn or exposed building paper or house wrap
- A gutter or downspout dumping water against the wall
- Any active leak showing inside the house
- A failed or missing flashing above a window or door
Plan for spring
- Faded or chalky paint on otherwise sound siding
- Hairline cracks in sheltered areas
- Even moss or mildew on a shaded wall with no other symptoms
- Cosmetic dents in metal or vinyl
Get an assessment
- Soft or spongy boards anywhere
- Repeated staining from the same joint
- Rot at the bottom of walls or around windows
- Any problem that comes back after a repair
The last group matters most, because a soft board or recurring stain usually means water has been getting past the cladding for a while. Our repair or replace guide explains when a patch stops being enough.
Homeowner jobs, and jobs to leave alone
Keep gutters clear, trim shrubs back from the walls, pull soil, mulch and firewood away from the bottom courses, and rinse grime gently with a hose and soft brush rather than a pressure washer. A dated photo log of anything you are watching shows whether it is changing. Leave alone anything that needs a ladder on a wet surface or prying siding off to look behind it.
What a winter service call looks like
When we come out, we start at the spot you are worried about and work outward. We probe the sheathing with an awl at the window corners and at the bottom of the wall, and on suspect areas we remove a board or two. The back of a removed board tells us a lot, since dark staining or tide lines mean water has been reaching the membrane for more than one season.
From there we can usually say whether it is a contained repair, such as a missing kick-out or a failed window head flashing, or a sign of something wider. Any opened area is papered and covered before we leave, and paint and sealant wait for a day that suits their temperature limits.
If your walk-around turned up something you are not sure about, send us photos through our contact page or call 778-358-2885, and we will arrange a free assessment and quote.