

Siding Repair in BC: The Complete Homeowner's Guide
How siding repair works in BC: spotting damage early, repair versus replacement by material, what happens when the wall is opened, and who to call in the Lower Mainland.
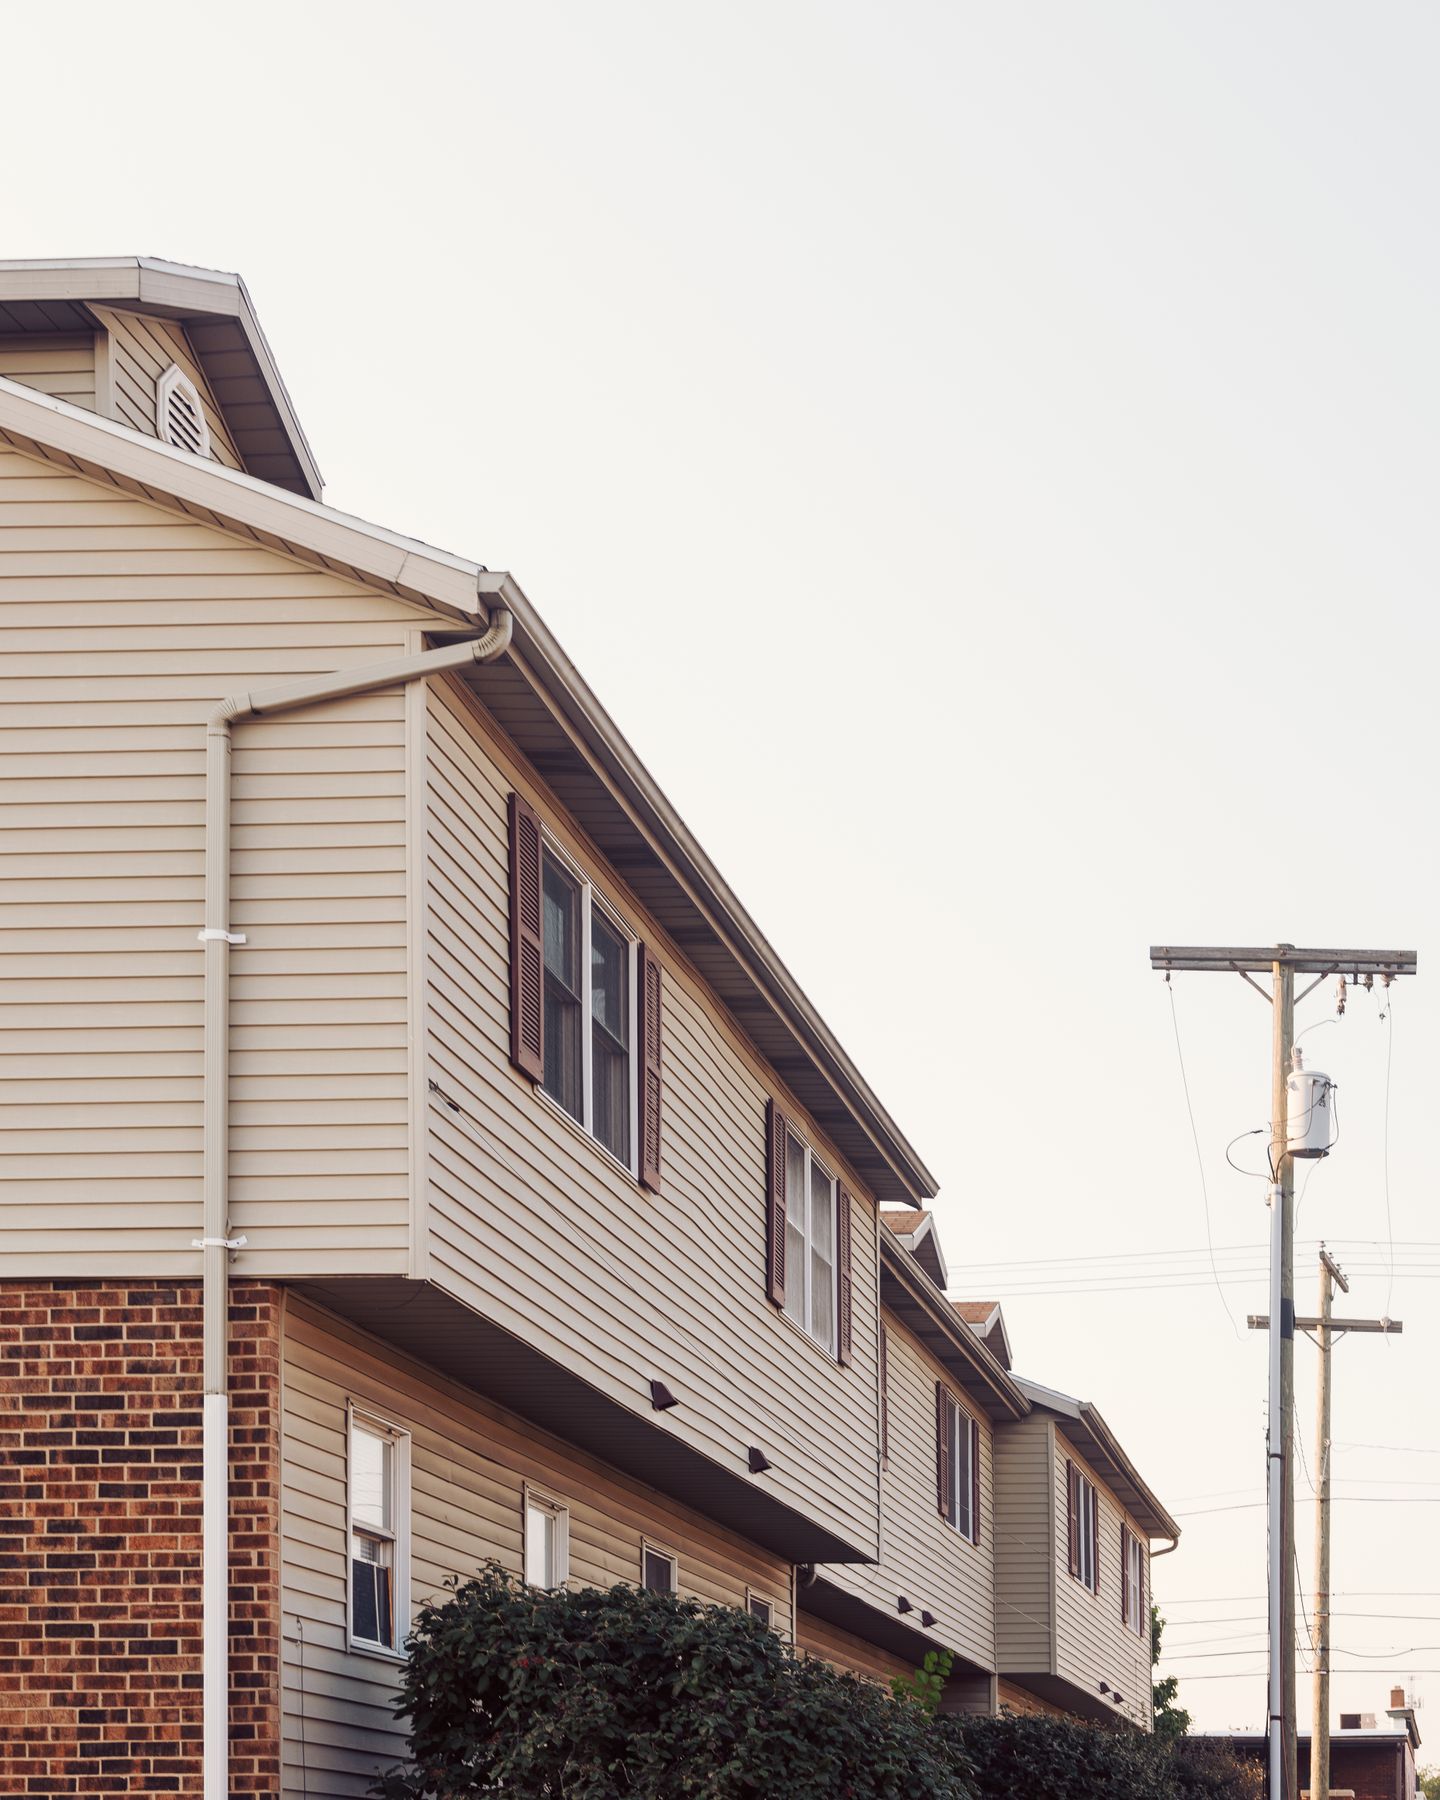
Siding repair is one of those jobs that rewards acting early. A cracked board costs little to fix. The same crack ignored for three wet Lower Mainland winters can mean sheathing rot, framing repairs and a bill many times the size. This guide covers how to spot siding damage before it grows, how repair decisions differ by material, what actually happens when a repair crew opens your wall, and how to decide between repairing again and replacing once.
We are a siding contractor based in Coquitlam that repairs and replaces siding across the Lower Mainland, so this is written from the ladder, not the armchair. Where a specific material deserves its own deep dive, we link to it, and this page works as the hub for our whole repair series.
Why siding fails in the Lower Mainland
Our climate is the villain in almost every repair story. From October to April, walls in Vancouver, Burnaby, the Tri-Cities and the Fraser Valley stay damp for weeks at a time. Wind pushes rain sideways into every joint and gap. Then summer arrives and UV bakes south and west elevations, opening hairline cracks that let next winter's water in.
Add the local supporting cast, moss and algae on shaded north walls, conifer needles holding moisture against the cladding, woodpeckers hunting insects in wood siding, and the occasional windstorm, and you have a region where siding earns its keep. The Canada Mortgage and Housing Corporation has documented for decades how coastal BC wall assemblies fail when they cannot drain and dry, and it is the single most important idea in this guide: most "siding problems" are really drainage problems wearing a siding costume.
That is why a good repair is never just swapping the visible board. If water got in, something let it in, and the repair has to fix that too, or you will be calling again.
The warning signs, from cosmetic to urgent
You do not need to be a contractor to catch siding problems early. Walk your exterior twice a year, spring and fall, and look for these.
Cosmetic, monitor:
- Fading or chalky residue on the surface of the siding
- Small isolated cracks or chips in individual boards
- Mildew or green algae film on shaded walls
Schedule a repair:
- Boards that are warped, cupped or pulling away from the wall
- Caulking that has cracked and separated at joints, windows and doors
- Paint or stain that fails repeatedly in the same spot, a classic sign of moisture pushing out from behind
- Gaps opening at butt joints or corner trim
- Woodpecker holes or pest damage
- A section of vinyl that has come loose and rattles in wind
Urgent, water is likely inside the wall:
- Soft or spongy siding when you press on it
- Dark staining that returns after cleaning, especially below windows
- Interior clues: musty smell in one room, bubbling paint on an interior wall, condensation that keeps appearing at one window
- Visible rot at the bottom courses, where splashback keeps walls wet
The urgent list is where waiting gets expensive. Siding is the raincoat. Once water is past it, the damage clock runs whether or not you can see anything from the driveway.
Repair or replace: the honest framework
Every homeowner asks this, and the honest answer follows a few questions:
How widespread is it? One elevation with impact damage is a repair. Symptoms on three walls mean the system, not a spot, is failing.
How old is the siding? Repairing a 5-year-old wall is obvious. Repairing a 35-year-old wall buys time, and that can be legitimate, but it should be a conscious decision to buy time, not an accidental habit.
What is behind it? This is the question that matters most, and you often cannot answer it until a section is opened. Homes built before rainscreen construction became standard in BC are the high-risk group. If your home predates the rainscreen era and shows moisture symptoms, budget emotionally for the possibility that a "repair" becomes a conversation about the wall assembly. Our guide to what drives siding replacement cost in BC explains where the money actually goes when that happens.
Can the material still be matched? Vinyl profiles and colours get discontinued. Wood profiles can be re-milled but at a price. If matching is impossible, a repair may mean re-siding one full elevation so the mismatch lives at a corner instead of mid-wall.
What is the repair history? The third call about the same wall is the wall telling you the patches are done working.
A rule we give clients: repair when the problem is on the wall, replace when the problem is in the wall. When we assess a home, we tell you plainly which one you have, and our free assessment exists exactly for that conversation.
What a proper siding repair actually involves
A repair done right is a small version of a re-side, not a cosmetic patch. Here is the sequence our crews follow.
1. Diagnose before touching anything. Where is water getting in, and where is it going? Sometimes the stain on the siding is two feet below the actual entry point, a failed window flashing, an unsealed penetration, a gap at trim.
2. Remove the damaged cladding cleanly. Each material has its removal technique. Vinyl unlocks course by course with a zip tool. Lap siding gets nails cut or pulled so neighbouring boards survive. Panels come off at fasteners.
3. Inspect what is underneath, and show you. This is the step that separates a repair from a cover-up. We look at the weather barrier, the sheathing, and where accessible, the framing. If there is rot, you see photos of it before we proceed, with a clear price for putting it right. Nobody should discover a past contractor's buried rot when they sell the house.
4. Fix the cause. Torn building paper gets lapped and sealed correctly. Missing flashing gets fabricated and installed. If the area needs a drainage path and has none, we build one. Our explainer on rainscreen and why BC walls need it covers why this small gap decides the fate of the whole wall.
5. Install the new material to manufacturer spec. Correct fastening, correct gaps for expansion, correct overlaps. Details differ by product, which is why the material-specific guides below exist.
6. Blend the finish. Colour match on faded walls is a craft conversation. Sometimes the answer is repainting the elevation so everything matches; sometimes careful product selection gets close enough that nobody will ever point at the repair.
Repair by material: where each one breaks
Each cladding fails in its own way. These are the short versions, with a dedicated guide for each linked as the series publishes.
Vinyl cracks on cold impact days, comes loose in wind when it was nailed too tight to move, and fades unevenly. Individual panels replace easily when the profile is still made. Our vinyl siding service covers both repair and replacement.
Wood and cedar rot at the bottom courses, at butt joints, and behind shrubs, and attract woodpeckers on the sunny elevations. Small areas repair beautifully because wood can be milled to match. Widespread softness usually means the finish system failed years ago. See our cedar siding maintenance guide for the upkeep side of that story.
Aluminum dents, chalks, and its colour coat wears thin, but the material itself refuses to rot, so repair decisions revolve almost entirely around appearance and matching.
Fiber cement rarely fails as a material. When we see damaged Hardie, it is nearly always an installation problem, wrong fastening, missing clearances, no gap at butt joints, and the repair means re-detailing, not just re-boarding. Installed correctly, as we do as a certified James Hardie installer, it is the most repair-free option on this list.
Stucco cracks are their own science: hairline crazing is cosmetic, pattern cracking at openings can signal movement, and bulging or drummy stucco means water behind. Stucco repair on the coast almost always leads to a drainage conversation.
When repair uncovers rot
About a third of the repair calls we attend in older Lower Mainland homes uncover some rot. Here is what happens next, so it is not scary: the rot gets cut back to sound wood, the sheathing or framing gets sistered or replaced, the cause gets corrected, and the wall gets rebuilt with a drainage path this time. Then the cladding goes back on.
What decides whether this is a manageable line item or a major project is time. Rot caught in year one is a patch of sheathing. Rot ignored for five years is structural. This is the entire argument for calling about the small stuff early, and it is why our assessments are free: we would rather see a hundred walls that turn out fine than meet one more wall that waited too long.
For multi-unit buildings, the same logic scales up with more process around it. Strata councils dealing with recurring envelope leaks should read our building envelope restoration guide, because repair-versus-restore at strata scale is a governance decision as much as a technical one, and BC Housing publishes extensive guidance for exactly those situations.
Doing it yourself versus calling someone
We are a contractor, so discount this section however you like, but the honest split looks like this.
Reasonable DIY: re-caulking a joint, replacing a single accessible vinyl panel with a zip tool, cleaning algae with a soft brush and mild cleaner, repainting a small repair.
Call someone: anything involving the weather barrier or flashing, anything above the first storey, any soft-wall symptom, anything on fiber cement, and any repair where matching matters on a visible elevation. The barrier and flashing work is where DIY repairs quietly fail. The visible patch looks fine; the lap direction behind it is wrong; the wall drinks for years.
Height is the other honest line. WorkSafeBC's fall protection rules exist because ladders on sloped, wet BC ground hurt people every year. No siding repair is worth that.
What repairs cost, structurally
We keep dollar figures off this site because every wall is different, but you deserve to know the structure of the price. A siding repair quote is driven by: access (ground floor versus staging), material and availability (stock vinyl versus discontinued profile versus custom-milled cedar), scope of the opening (one board versus one elevation), what the opening reveals (dry sheathing versus rot repair), and finish work (spot blend versus repaint). When you get our written quote, those are the lines you will see, priced from what we actually measured at your home. How to read and compare quotes like that across contractors is covered in how to choose a siding contractor in BC.
Where you live changes what fails
The Lower Mainland is not one climate, and after enough assessments the postal-code patterns become predictable.
North Shore and mountain-backed cities (North Vancouver, West Vancouver, Maple Ridge, Mission): the wettest walls in the region, plus deep tree shade. Expect moss and algae pressure, slow-drying north elevations, rot at shaded bottom courses, and woodpecker interest in wood siding. Drainage details matter more here than anywhere.
Exposed flats and river mouths (Richmond, Delta, parts of Surrey): wind is the author. Driven rain finds every flashing weakness on windward faces, and gusts test the fastening of vinyl and aluminum. Splashback rot at grade is common on unscreened walls because the rain arrives horizontally.
The Tri-Cities and Burnaby (Coquitlam, Port Moody, Port Coquitlam): a mix of both patterns, plus a large stock of 1970s to 1990s housing now reaching the age where original claddings and pre-rainscreen assemblies retire at the same time. This is the heart of our repair-versus-replace conversations.
The Fraser Valley (Langley, Abbotsford, Chilliwack): bigger temperature swings, real summer heat on south walls, valley windstorms, and the occasional hail event that writes a whole neighbourhood's repair list in one afternoon.
None of this changes the framework above. It changes which question bites first, and it is why an assessor who works your area daily reads a wall faster than a checklist ever will.
Timing repairs around the BC weather calendar
You can repair siding year-round here, crews do, but the calendar has favourites.
Spring is inspection season: winter's damage is fresh, surfaces are drying, and you are booking ahead of the summer rush. Summer is ideal for anything involving finishes, paint, stain, caulking all cure best warm and dry, and for opening walls, since a surprise behind the cladding can be fixed without racing the rain. Fall is the deadline: the small stuff you fix in October does not spend five months growing under the rain. Winter repairs are absolutely done, tarps, staged openings, materials that tolerate cold, but emergency winter work is the most expensive kind, which is the strongest argument for the fall walk-around.
The one non-negotiable: active leaks do not wait for a season. Water inside the wall in November costs more by March.
The repair series
This pillar anchors our repair cluster. Material and situation guides publishing through August and September: repair versus replace decision-making, vinyl repair, aluminum repair, wood rot repair, cedar restoration, storm damage and insurance claims, matching discontinued products, woodpecker and pest damage, and who pays for what in a strata. Each will be linked here as it goes live.
If your wall is showing any of the urgent signs above, skip the reading list. Book a free assessment or call 778-358-2885, and we will tell you honestly whether you have a small repair, a big one, or nothing to worry about at all. Scope, pricing and the cities we cover are on our siding repair service page.
- Repair or Replace Your Siding? A BC Decision Framework
- Vinyl Siding Repair in BC: Cracks, Loose Panels, Fading and When to Stop Patching
- Aluminum Siding Repair in BC: Dents, Chalking, Paint and the Replacement Question
- Wood Siding Rot Repair in BC: Finding It, Fixing It, Stopping It Coming Back
- Cedar Siding Repair in North Vancouver and the Wet Coast: Restore or Replace?
- Siding Storm Damage and Insurance Claims in BC: A Homeowner's Playbook
- Matching Discontinued Siding: A BC Repair Detective's Guide
- Woodpeckers, Wasps and Rodents: Fixing Pest Damage to Siding in BC
- Strata Siding Repair in BC: Who Pays, Who Decides, and How It Actually Gets Done
- 7 Signs Your Soffit and Fascia Need Attention (Before the Roofline Lets Water In)