

How Rain Gets Behind Siding, and Where to Look First
How rain gets behind siding on BC homes, the five forces that drive it, the leak paths at windows, roof-wall joints and penetrations, and where to look first.
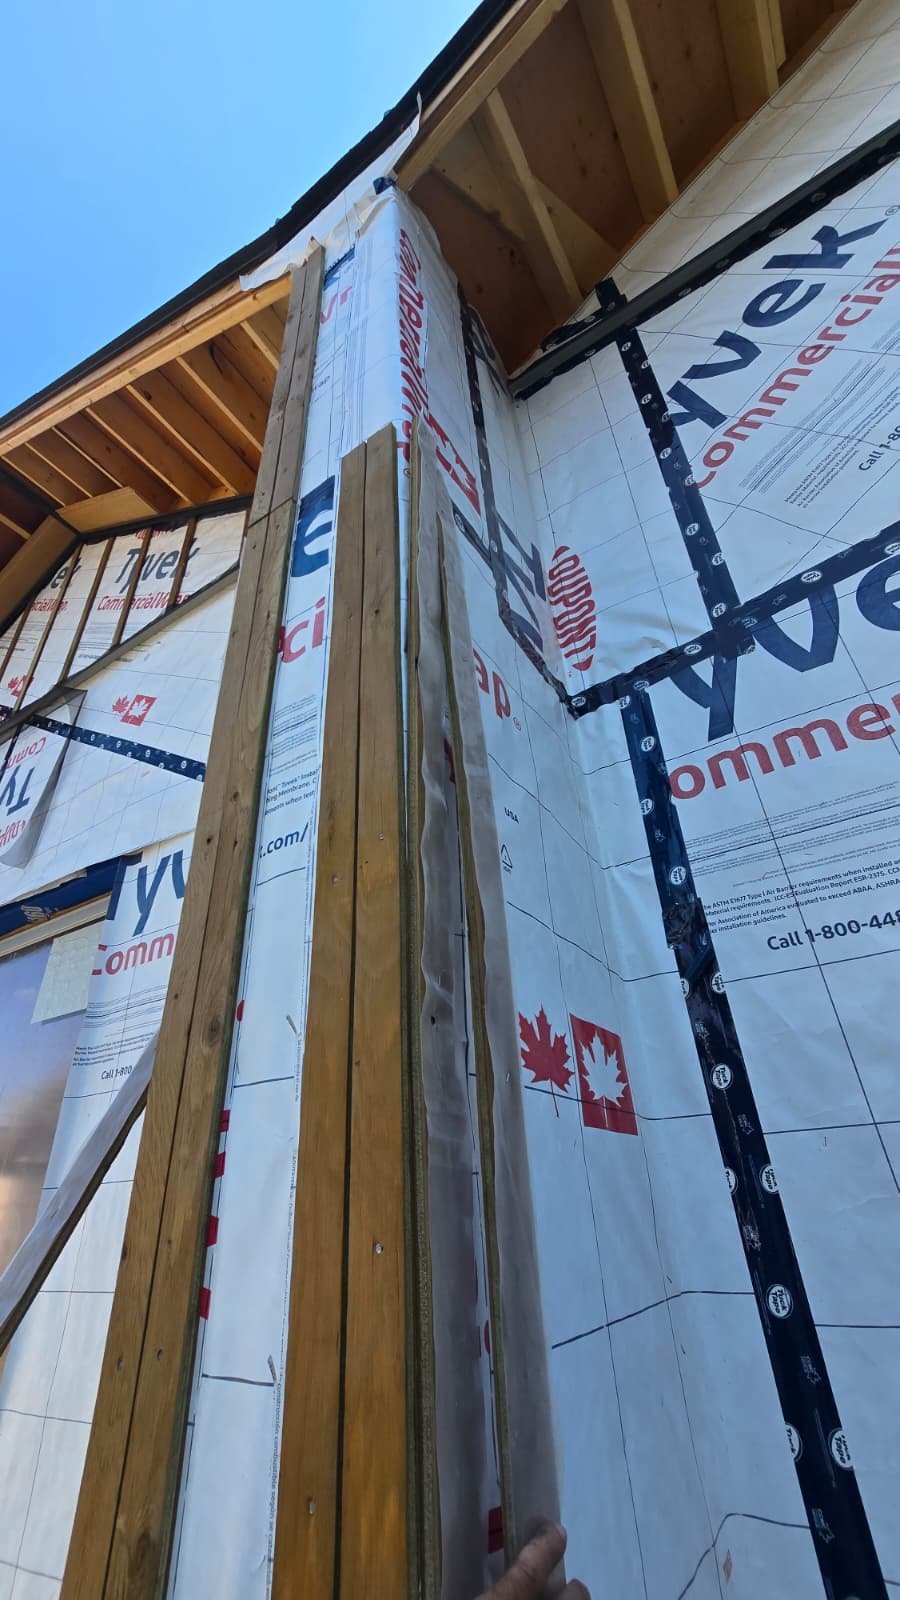
Rain gets behind siding in a few predictable ways. Gravity pulls it into anything that slopes toward the wall, wind throws it into open joints and pushes it through gaps that look too small to matter, and surface tension and capillary action draw it back along the underside of trim and into tight seams. The face of the siding is rarely the problem. Most leaks start where the siding stops, at window heads, roof-wall joints, decks and penetrations, and the water usually shows up well below where it got in.
Finding that entry point is most of the work on any leak call our siding repair crews take across Metro Vancouver and the Fraser Valley. This post explains how the leak paths work, the order we check them in, and how to read the stains and soft spots you can see.
It is part of our complete siding repair guide.
Siding is a screen, not the waterproof layer
On a modern BC wall the siding sheds most of the rain and some always gets past it. Behind it, the weather barrier, the flashings and the drained gap of a rainscreen handle the rest, which our rainscreen explainer covers. A leak into the house is therefore never just a siding problem. It means water got past the siding and then past, or around, the layers behind it.
The five forces that move water into a wall
Building scientists group the ways water enters a wall into five forces. Each one has a detail that defeats it, and most leaks we open trace back to one of those details being missed.
Gravity
Water runs down and follows any surface sloping toward the wall. A flat window sill, a band board with no flashing, a deck ledger or a flashing installed level or tipped back all lead water inward. The fix is slope and lapping. Every horizontal surface needs a flashing that tilts out, and every layer laps over the one below it.
Wind-driven rain
In a southeast storm, raindrops arrive with enough speed to be thrown straight into open joints, nail holes and the gaps around trim. This is why some leaks only appear during storms from one direction. Covering joints with trim and flashings, rather than leaving them open to the weather, defeats it.
Surface tension
Water clings to the underside of trim, flashings and siding laps and creeps back toward the wall. A flashing cut flush with the trim, with no bent drip, lets water ride around its edge and into the joint behind. A proper drip edge projects out and turns down so the water lets go.
Capillary action
Water wicks into tight gaps between materials, the same way a paper towel draws up water. Siding pressed onto a roof surface, trim jammed against a deck, and planks sitting in mulch all pull water upward and sideways. Leaving a small gap, the clearances manufacturers publish, breaks the path.
Air pressure difference
When wind hits a wall, the pressure outside can be higher than the pressure behind the siding, so water on the surface is pushed or sucked through any opening. A vented rainscreen gap helps by letting pressure behind the siding move closer to the pressure outside. Our post on how walls dry explains how that cavity also dries the wall.
Where to look first
When we are called to a leak, we start at the most likely sources and work outward. This is the order we usually follow on Lower Mainland houses.
1. Window and door heads, and the windows themselves
The top of every opening is the most common leak source we find. Look for a metal head flashing above the trim that extends past both sides and kicks water out. When it is missing, cut short or lapped in front of the weather barrier instead of behind it, water runs into the jamb and down the wall.
Windows also leak through their own frame corners as they age. That water lands on the rough opening below the window, so stains or soft wood under the bottom corners of a window can come from the head, the frame or a missing sill pan. Our post on James Hardie trim and corner details shows what a correct head flashing looks like.
2. Roof-to-wall intersections
Where a garage, porch or dormer roof runs into a taller wall, step flashing carries water down the joint. At the bottom end, a kick-out flashing should turn that water into the gutter. Without it, the water from the whole joint pours down behind the siding. A dark streak or soft board directly below the end of a roof edge is one of the most reliable leak signs on any house.
3. Decks and balconies
Where a deck ledger is bolted to the house or a balcony meets the wall, water sits on a flat surface right against the cladding. The ledger needs a flashing above it, the deck membrane has to turn up the wall behind the siding, and the siding needs clearance above the deck. Our post on the leaky condo era covers how these details failed across the province.
4. Penetrations
Dryer vents, exhaust hoods, hose bibs, lights, electrical boxes, gas lines and heat pump line sets are all holes in the weather barrier. Each needs a mounting block or flashing that sheds water around it and laps into the barrier behind. A bead of caulk around the outside alone tends to fail within a few seasons.
5. Horizontal transitions
Band boards, changes of material and the joint between storeys all create lines across the wall. Without a Z flashing above them, they collect water and lead it inward.
6. Corners
Corners take water from two directions and see the highest wind pressure. Check that trim is tight and that nothing is soft at the bottom of the corner board.
7. The roof edge and the bottom of the wall
Overflowing gutters dump water down the face of the wall, and soft fascia often comes with it, which our fascia replacement guide covers. At the bottom, soil, mulch or paving against the siding keeps it wet, and on rainscreen walls the bottom of the gap has to stay open and screened.
Reading the symptoms
Water travels along framing, sheathing and window frames before it shows. A few patterns help narrow the search.
- Staining below a window points to the head flashing, the window frame or the sill
- Rot at the bottom of a wall under a roof line usually points to a missing kick-out
- Damage below a deck usually starts at the ledger or the membrane upstand
- A ceiling stain inside below an exterior wall may start at a deck or roof-wall joint above
- Damage only on one face of the house points to wind-driven rain on that exposure
How we trace a leak on site
We probe the sheathing with an awl and a moisture meter in a grid around the symptom, then remove siding at the most likely source. The back of a removed board is often the best evidence on the job. Dark staining, tide lines and rusted nail shanks show where water has been reaching, and darkened, brittle building paper shows how long.
We then follow the wet area upward to its highest point, because the source is almost always at or above it. When the source is still unclear, a controlled water test helps. A hose is run on one small area at a time, starting low and moving up, with someone watching inside or at the opened area, so each detail is tested on its own before any more siding comes off.
Older walls and newer walls
Many older Lower Mainland houses have siding nailed straight over building paper and sheathing, with no drained gap. Water that gets past the siding sits against the paper and has to dry through the siding or the sheathing, so damage shows as slow, spread-out rot around windows and along the bottom of walls.
Newer homes usually have a rainscreen, so small amounts of water drain away. When they leak, it is usually one missed detail, such as a reversed head flashing or a missing kick-out. Those leaks are more concentrated and easier to fix, as long as the wall is opened at the right spot.
What a lasting repair involves
Caulking the outside of a leak usually moves it rather than stops it. A lasting repair opens the wall at the source and high enough above it that the new membrane can be lapped under the existing barrier, then repairs the sheathing and framing, installs the missing flashing and closes the wall with matching cladding. Our wood siding rot repair guide covers the rebuild side.
Before you agree to a repair, ask the contractor where they think the water is getting in, how far up they will open the wall, and how the new paper will lap into the old above it. Clear answers to those three questions are a good sign the leak will not come back.
If you want to check the rest of the house while you are at it, our winter siding checklist walks through each point. If you have a stain or soft spot that keeps coming back, send us photos through our contact page and we will arrange a free assessment and quote.