

Siding Installation: What to Expect From First Site Visit to Final Walkthrough
The siding installation process step by step: site visit, quote, tear-off, rot repair, rainscreen, install, cleanup and final walkthrough with warranty.
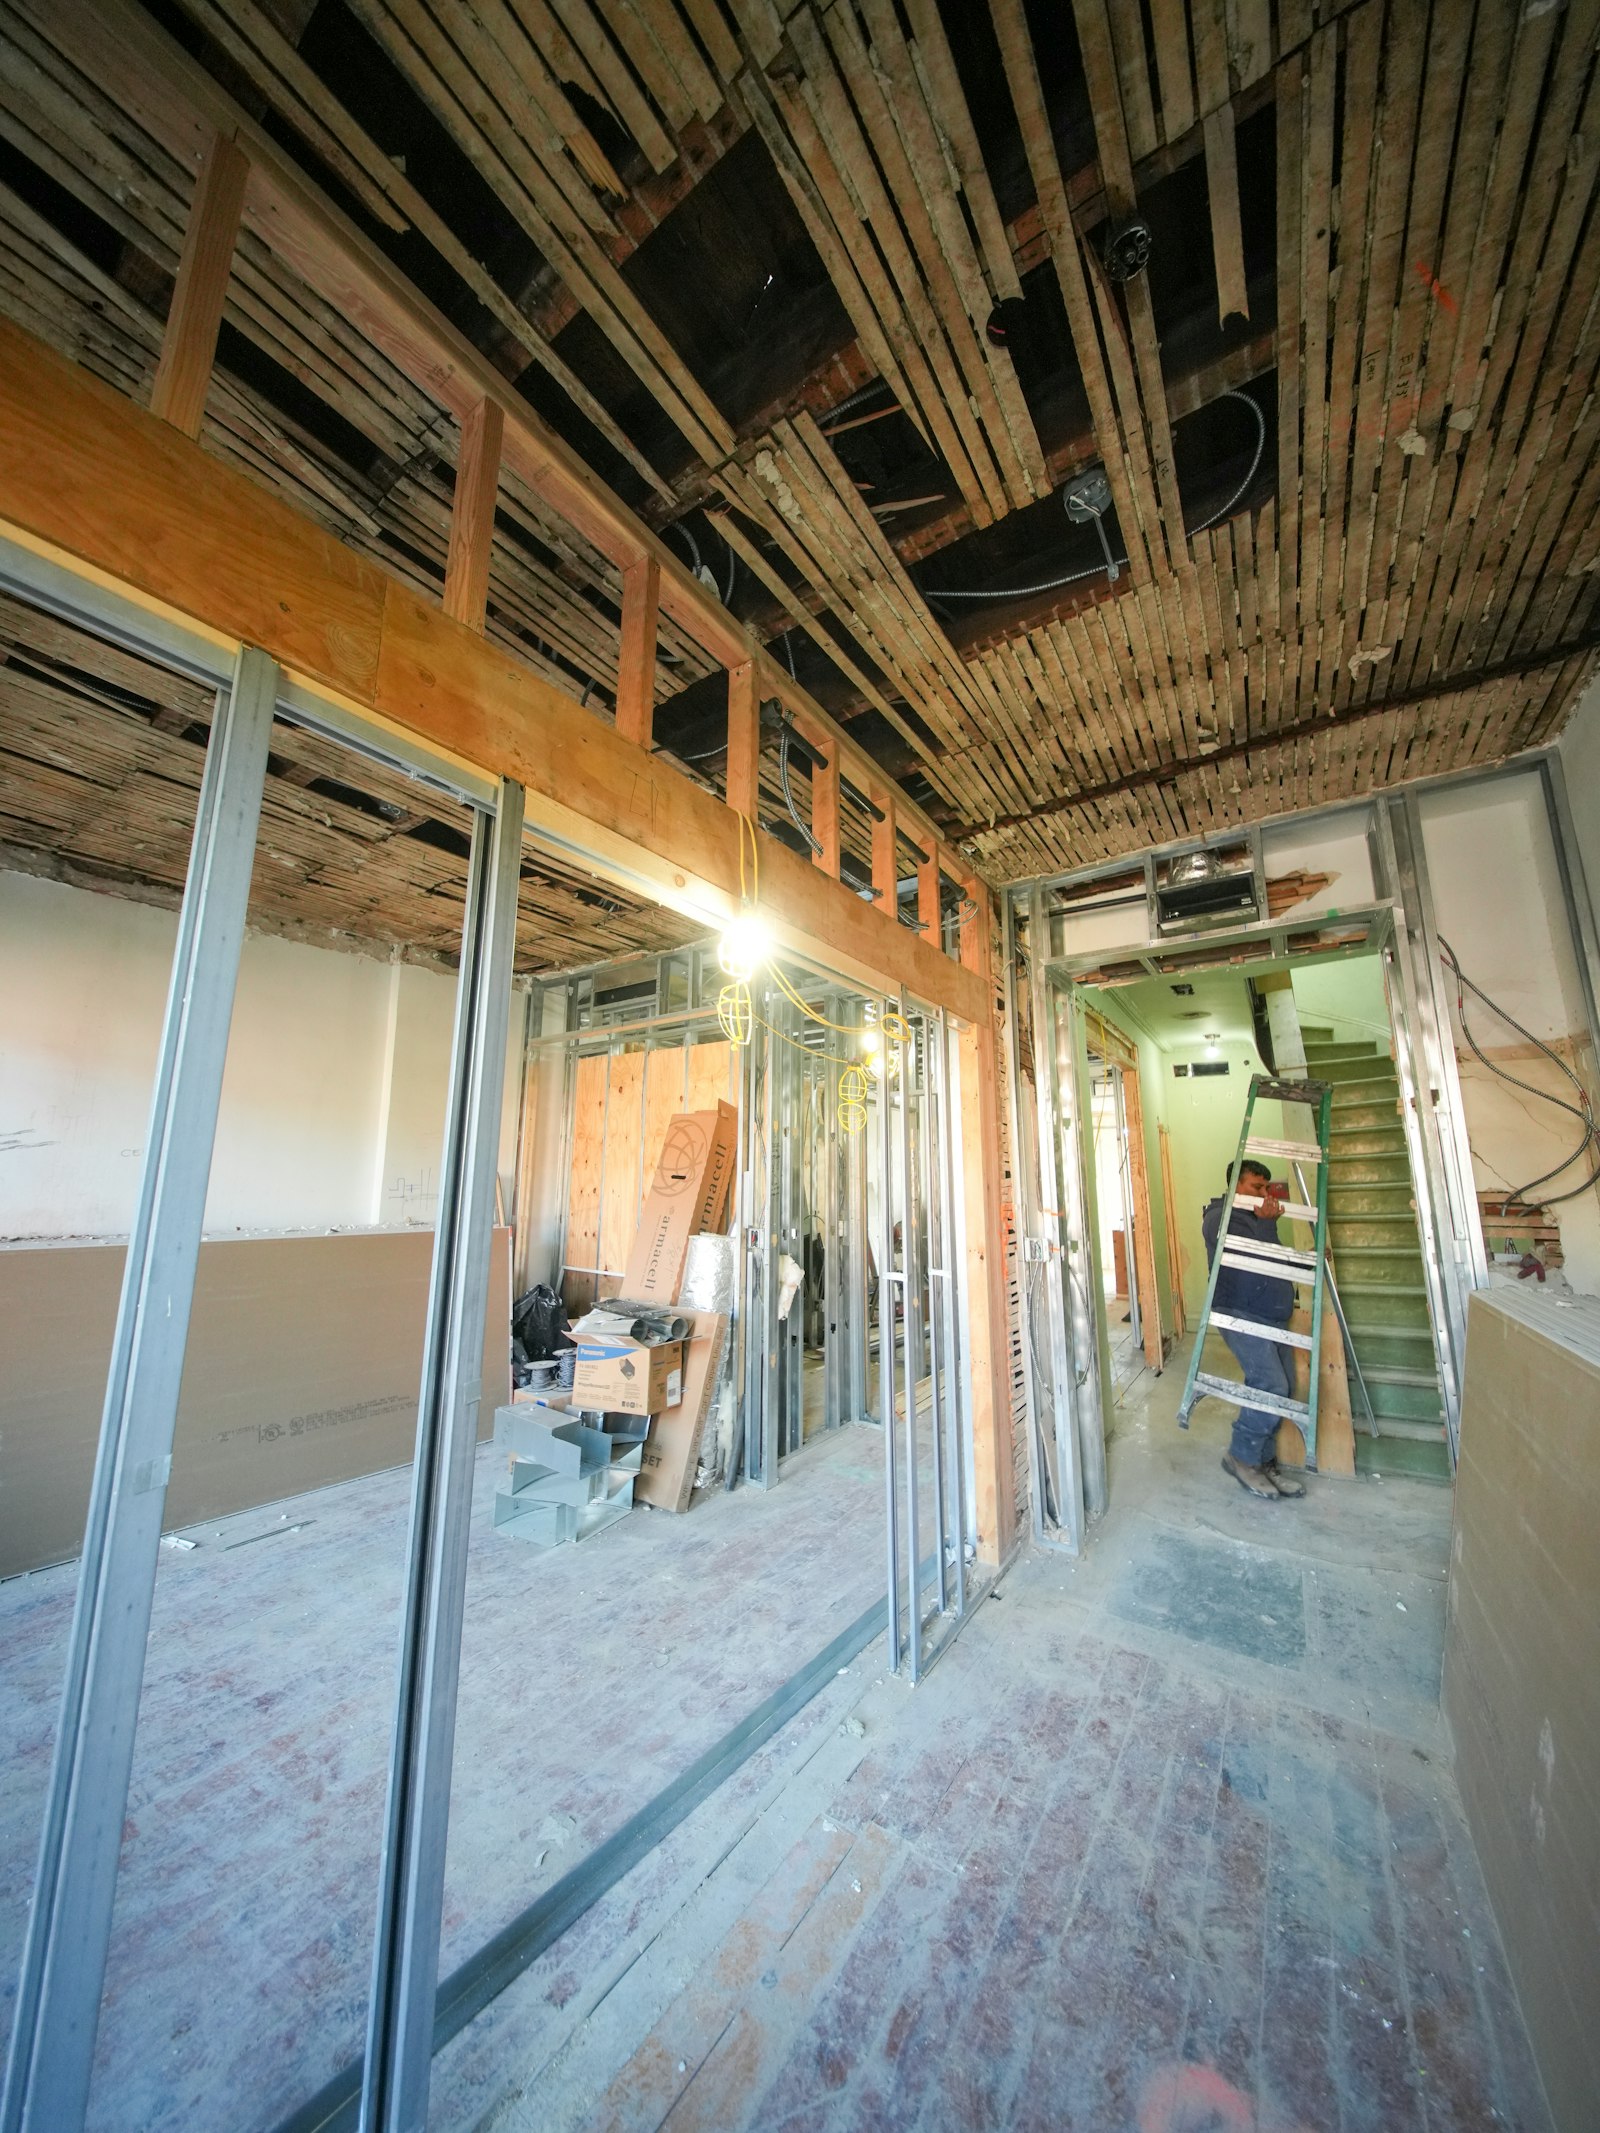
The siding installation process runs through six stages: a site visit and detailed quote, material ordering and scheduling, site protection and tear-off, repairs and rainscreen work on the bare wall, the new siding install with trim and flashing, and a final walkthrough where you receive your warranty. Most residential siding projects run 2 to 4 weeks on site, and you do not need to move out. Here is what actually happens at each stage, so nothing on your project comes as a surprise.
Stage 1: site visit and quote
Every accurate siding quote starts with someone walking your building. During the visit, expect the estimator to measure wall areas, count windows and doors, check the condition of existing cladding, look for signs of moisture trouble, and assess access: slopes, fences, landscaping, and where scaffolding or lifts will go.
This is also your interview. Ask about licensing, WorkSafeBC coverage, and warranty terms. Our siding guide for BC buildings pairs well with this article if you are still comparing materials and companies.
The quote that follows should read like a scope document: named products, membranes and rainscreen specified, tear-off and disposal included, trim details described, and a process for hidden damage spelled out. On projects that bundle in soffit and fascia, gutters, or exterior insulation, each piece should appear as its own line.
Stage 2: contract, materials, and scheduling
Once you sign, the contractor orders materials. Standard vinyl colours often arrive quickly, while specialty orders like James Hardie in a custom ColorPlus colour or Longboard woodgrain planks can take several weeks. Your start date is usually set around material arrival and weather windows.
Before the crew arrives, you will get a heads-up on logistics: where the bin and material stacks will sit, where crews will park, and what you need to move. Your part of the prep list is short but helpful:
- Move vehicles out of the driveway and garage if it is a staging area.
- Clear patio furniture, planters, and anything fragile away from the walls.
- Take pictures and mirrors off exterior-facing interior walls, since hammering and nailing vibrate through framing.
- Trim back shrubs touching the siding, or flag plants you want protected.
- Unlock gates and let the contractor know about pets.
Stage 3: protection and tear-off
Day one starts with site protection: tarps over garden beds, plywood over delicate landscaping where needed, and scaffolding or staging set up. Then the old cladding comes off, elevation by elevation.
Tear-off is the loudest, messiest phase, and it is also the most informative. With the walls stripped to sheathing, the crew can finally see the building's real condition. In coastal BC, this is where water damage from decades of rain shows itself, most often at window corners, deck attachments, and the base of walls.
What happens if rot is found
This is the question every homeowner asks, and the answer should be procedural, not improvised. The crew stops in the affected area and photographs the damage. You get a clear description and a price for the repair. You approve the extra work in writing before it proceeds. Damaged sheathing, framing, or insulation is replaced properly, not covered over.
Nobody enjoys a change order, but finding rot during a reside is genuinely good luck in disguise: the wall is already open, so the fix costs a fraction of what it would as a standalone project later. Buildings with widespread damage may be better served by a full rainscreen restoration, which is scoped as its own project.
Stage 4: the wall assembly, where the real quality lives
Before any new siding goes on, the layers you will never see again get installed: a modern water resistive barrier over the sheathing, flashings integrated at every window, door, and penetration, and vertical strapping to create the rainscreen cavity that lets BC walls drain and dry. If you have opted for exterior insulation, rigid board goes on at this stage too.
This stage looks slow from the sidewalk because the building does not appear to change much. It is also the stage that determines whether your walls stay dry for the next 30 years. If you want to understand what that gap behind the siding does, our explainer on rainscreen and why BC needs it covers it in plain language.
Stage 5: siding, trim, and detailing
Now the visible transformation happens. Panels go up elevation by elevation, corners and trims are fitted, and openings get their finished surrounds. Fibre cement and premium plank systems take longer per wall than vinyl because cutting, fastening, and clearance rules are stricter. The last few days go to detailing: caulking joints, touch-up paint, installing light fixtures and house numbers back on the new exterior finishing, and final trim pieces.
Daily rhythm during the project
Expect the crew on site during normal working hours, with noise to match: saws, compressors, and nailing. A professional crew tidies daily, stacking materials, picking up offcuts, and running a magnetic sweeper for dropped nails. You stay in your home throughout. The main day-to-day impacts are noise, crews visible outside windows, and short periods where a deck or entrance is awkward to use while its elevation is being worked.
Weather plays a role in every BC exterior schedule. Rain rarely stops a project entirely, but some tasks, like caulking and painting, need dry conditions, so a soggy week can stretch the timeline modestly.
Stage 6: final walkthrough, cleanup, and warranty
When the work is done, you and the contractor walk the entire building together. Bring your own eyes and take your time. Check trim lines, caulking joints, flashing above windows, and consistency across elevations. Anything that needs correction goes on a deficiency list with a date for completion.
Before the file closes, you should receive:
- Your written workmanship warranty.
- Manufacturer warranty registration details for the product installed.
- Any leftover siding, labelled and stored for future repairs. A bundle of spare planks is gold years later.
- A site cleaned to at least the condition it started in.
A contractor who has done this many times treats the walkthrough as the point of the whole project. Browse our completed projects and testimonials to see what finished work should look like.
Frequently asked questions
How long does siding installation take?
Most residential siding projects run 2 to 4 weeks on site, depending on the size of the home, the material, the detailing, and what is found under the old cladding. Multi-family and commercial buildings run longer and are usually phased by elevation or by building section.
Do I need to move out during siding replacement?
No. Siding work happens entirely outside, so families stay home for the whole project. Expect construction noise during working hours, crews on scaffolding outside your windows, and temporary loss of access to some walls, decks, and garden beds while each elevation is worked on.
What happens if rot is found under the old siding?
The crew stops in that area, documents the damage with photos, and prices the repair before proceeding. You approve the extra scope in writing, the framing or sheathing is repaired, and then the new assembly goes on. Fixing rot during a reside is far cheaper than opening the wall again later.
What should the final walkthrough include?
You and the contractor walk every elevation together, checking trim, caulking, flashings, and cleanup, and listing any deficiencies to be corrected. You should leave the walkthrough with your written workmanship warranty, warranty registration details for the material, and any leftover product labelled for future repairs.
Ready to start your siding project?
Mega Siding Exterior Ltd. runs this exact process on every siding installation we take on, for homeowners, stratas, and builders across Coquitlam, the Tri-Cities, Metro Vancouver, and the Fraser Valley. BC licensed, insured, WorkSafeBC compliant, with 10+ years in the trade and a written workmanship warranty. Contact us or call 778-358-2885 to book your site visit.